Fix Loose Faucet Base: The Ultimate Guide to Stability
A wobbly faucet can be more than just an annoyance; it can lead to water leaks, damage your countertop, and even indicate a more serious plumbing problem. If you’re searching for how to *fix loose faucet base*, you’ve come to the right place. This comprehensive guide will walk you through the process of diagnosing the cause of the wobble, tightening the base securely, and preventing future issues. We’ll cover everything from identifying the right tools to understanding the underlying mechanics, ensuring a stable and leak-free faucet for years to come. Unlike other resources, we delve deep into the nuances of different faucet types and mounting systems, providing tailored solutions for every situation. Our goal is to equip you with the knowledge and confidence to tackle this common plumbing problem like a pro, saving you time and money while ensuring the longevity of your fixtures.
Understanding Why Faucet Bases Become Loose
A loose faucet base isn’t just a random occurrence; it’s usually the result of several contributing factors. Understanding these factors is crucial for effective and long-lasting repairs. Ignoring the underlying cause can lead to recurring problems, even after tightening the base.
* **Vibration and Movement:** Constant use of the faucet creates vibrations that gradually loosen the mounting hardware over time. Every time you turn the faucet on or off, a small amount of force is exerted on the base, contributing to this loosening effect. This is especially true for faucets with longer spouts or heavier designs.
* **Water Damage and Corrosion:** Water leaks, even minor ones, can corrode the mounting hardware and surrounding materials, weakening the connection between the faucet base and the countertop or sink. This corrosion can also make it difficult to tighten the hardware properly.
* **Improper Installation:** A poorly installed faucet is more likely to develop a loose base. If the mounting hardware wasn’t tightened sufficiently during the initial installation, it will gradually loosen over time. Additionally, using incorrect or incompatible hardware can also contribute to the problem.
* **Wear and Tear:** Like any mechanical component, faucet mounting hardware experiences wear and tear over time. Washers can deteriorate, screws can strip, and other components can weaken, leading to a loose base.
* **House Settling:** In some cases, house settling can also contribute to a loose faucet base. As the foundation of your home shifts, it can put stress on plumbing connections, including the faucet mounting.
Understanding these factors allows you to not only *fix loose faucet base*, but also to implement preventative measures to avoid future problems.
Essential Tools and Materials for Fixing a Loose Faucet Base
Before you start any repair, it’s essential to gather the necessary tools and materials. Having everything on hand will make the process smoother and more efficient. Here’s a list of essentials:
* **Adjustable Wrench:** A must-have for tightening nuts and bolts of various sizes.
* **Basin Wrench:** Also known as a faucet wrench, this tool is specifically designed to reach tight spaces under the sink.
* **Screwdrivers (Phillips and Flathead):** Essential for removing and tightening screws.
* **Pliers:** Useful for gripping and manipulating small parts.
* **Plumber’s Putty:** Used to seal the base of the faucet and prevent leaks.
* **Silicone Caulk:** Another sealant option for preventing leaks.
* **Penetrating Oil:** Helps loosen corroded or stuck hardware.
* **Clean Rags or Paper Towels:** For cleaning up spills and messes.
* **Flashlight or Headlamp:** To provide adequate lighting under the sink.
* **Safety Glasses:** To protect your eyes from debris.
* **Gloves:** To protect your hands from dirt and chemicals.
* **Replacement Washers and O-Rings:** Consider having these on hand in case you need to replace worn or damaged parts.
Having these tools and materials readily available will significantly improve your ability to *fix loose faucet base* effectively.
Step-by-Step Guide to Tightening a Loose Faucet Base
This section provides a detailed, step-by-step guide to tightening a loose faucet base. Follow these instructions carefully to ensure a secure and leak-free repair. Remember to shut off the water supply before starting any plumbing work.
**Step 1: Shut Off the Water Supply**
Locate the shut-off valves under the sink. These valves control the water supply to the faucet. Turn both the hot and cold water valves clockwise until they are completely closed. If you don’t have shut-off valves under the sink, you’ll need to shut off the main water supply to your house.
**Step 2: Inspect the Faucet Base**
Carefully examine the faucet base to identify the source of the looseness. Look for any visible signs of corrosion, damage, or missing parts. This inspection will help you determine the best course of action.
**Step 3: Access the Mounting Hardware**
The location of the mounting hardware varies depending on the type of faucet. In most cases, you’ll need to access it from under the sink. Look for nuts, screws, or clips that secure the faucet to the countertop or sink.
**Step 4: Tighten the Mounting Hardware**
Using the appropriate wrench or screwdriver, tighten the mounting hardware. Be careful not to overtighten, as this could damage the faucet or the countertop. Tighten the hardware gradually and evenly until the faucet base is secure.
* **For Faucets with Nuts:** Use an adjustable wrench or basin wrench to tighten the nuts that secure the faucet to the countertop. Make sure to tighten both nuts evenly.
* **For Faucets with Screws:** Use a screwdriver to tighten the screws that secure the faucet to the countertop. Again, tighten the screws evenly to avoid damaging the faucet or countertop.
* **For Faucets with Clips:** Some faucets use clips to secure the base. Make sure the clips are properly engaged and tightened.
**Step 5: Replace Worn or Damaged Parts**
If you notice any worn or damaged washers, O-rings, or other parts, replace them with new ones. This will help ensure a long-lasting repair.
**Step 6: Apply Plumber’s Putty or Silicone Caulk**
Apply a bead of plumber’s putty or silicone caulk around the base of the faucet where it meets the countertop or sink. This will create a watertight seal and prevent leaks.
**Step 7: Test for Leaks**
Turn the water supply back on and check for leaks around the base of the faucet. If you see any leaks, tighten the mounting hardware further or reapply the plumber’s putty or silicone caulk.
**Step 8: Clean Up**
Clean up any spills or messes and dispose of any used materials properly.
By following these steps, you can effectively *fix loose faucet base* and restore stability to your faucet.
Troubleshooting Common Issues When Fixing a Loose Faucet Base
Even with careful planning and execution, you might encounter some common issues when trying to *fix loose faucet base*. Here’s how to troubleshoot them:
* **Corroded Hardware:** If the mounting hardware is heavily corroded, it might be difficult to tighten or remove. Apply penetrating oil to the hardware and let it sit for a few minutes before attempting to tighten or remove it. If the corrosion is too severe, you might need to replace the hardware.
* **Stripped Screws:** If the screws are stripped, they won’t tighten properly. Try using a larger screwdriver or a screw extractor to remove the stripped screws. Replace them with new screws of the same size and type.
* **Inaccessible Hardware:** In some cases, the mounting hardware might be difficult to reach due to the location of the faucet or the sink. Use a basin wrench or other specialized tool to access the hardware.
* **Persistent Leaks:** If you continue to experience leaks after tightening the mounting hardware and applying plumber’s putty or silicone caulk, there might be a problem with the faucet itself. Inspect the faucet for cracks or other damage and consider replacing it if necessary.
* **Faucet Still Wobbles:** Even after tightening, the faucet might still have a slight wobble. This could be due to the countertop material being slightly uneven. Try using shims to level the faucet base and eliminate the wobble.
Preventing Future Problems: Maintaining a Stable Faucet Base
Prevention is always better than cure. Here are some tips to help you maintain a stable faucet base and prevent future problems:
* **Regularly Check the Mounting Hardware:** Periodically check the mounting hardware to ensure it’s still tight. Tighten it as needed to prevent the faucet base from becoming loose.
* **Avoid Excessive Force:** Avoid using excessive force when turning the faucet on or off. This can put unnecessary stress on the mounting hardware and contribute to loosening.
* **Address Leaks Promptly:** Fix any leaks as soon as they are detected. Water damage can corrode the mounting hardware and weaken the connection between the faucet base and the countertop or sink.
* **Use Quality Hardware:** When replacing mounting hardware, use high-quality materials that are resistant to corrosion and wear.
* **Consider a Faucet Stabilizer:** For faucets that are prone to wobbling, consider installing a faucet stabilizer. This device provides additional support to the faucet base and helps prevent loosening.
By following these preventative measures, you can significantly reduce the likelihood of needing to *fix loose faucet base* in the future.
Choosing the Right Faucet for Long-Term Stability
Selecting a high-quality faucet with a robust mounting system is a key factor in preventing future issues with a loose base. Consider these factors when choosing a new faucet:
* **Material:** Opt for faucets made from durable materials like solid brass or stainless steel. These materials are less prone to corrosion and wear.
* **Mounting System:** Look for faucets with a secure and stable mounting system. Faucets with multiple mounting points or a wider base tend to be more stable.
* **Weight:** Consider the weight of the faucet. Heavier faucets can put more stress on the mounting hardware, so choose a faucet that is appropriately sized for your sink and countertop.
* **Brand Reputation:** Choose a faucet from a reputable brand known for quality and durability. Read reviews and ask for recommendations from plumbers or other professionals.
* **Installation:** Proper installation is crucial for long-term stability. If you’re not comfortable installing the faucet yourself, hire a qualified plumber to do the job.
Investing in a high-quality faucet and ensuring proper installation can save you time and money in the long run by minimizing the need to *fix loose faucet base* repeatedly.
The Importance of Professional Plumbing Services
While many homeowners are capable of handling minor plumbing repairs, there are times when it’s best to call a professional. Here are some situations where you should consider hiring a plumber:
* **Complex Plumbing Systems:** If you have a complex plumbing system or are unsure about any aspect of the repair, it’s best to consult with a plumber.
* **Persistent Leaks:** If you’ve tried to fix a leak yourself but it persists, there might be a more serious underlying problem that requires professional attention.
* **Extensive Damage:** If the faucet base is severely damaged or the surrounding area is showing signs of water damage, it’s important to have a plumber assess the situation.
* **Warranty Concerns:** If your faucet is still under warranty, attempting to repair it yourself might void the warranty. Check the warranty terms before proceeding with any repairs.
* **Peace of Mind:** Hiring a plumber can give you peace of mind knowing that the job is done correctly and safely.
A professional plumber has the knowledge, skills, and tools to *fix loose faucet base* efficiently and effectively, ensuring a long-lasting repair.
Understanding Faucet Types and Their Mounting Systems
Different faucet types have different mounting systems, which can affect how you approach fixing a loose base. Here’s a brief overview of common faucet types and their mounting systems:
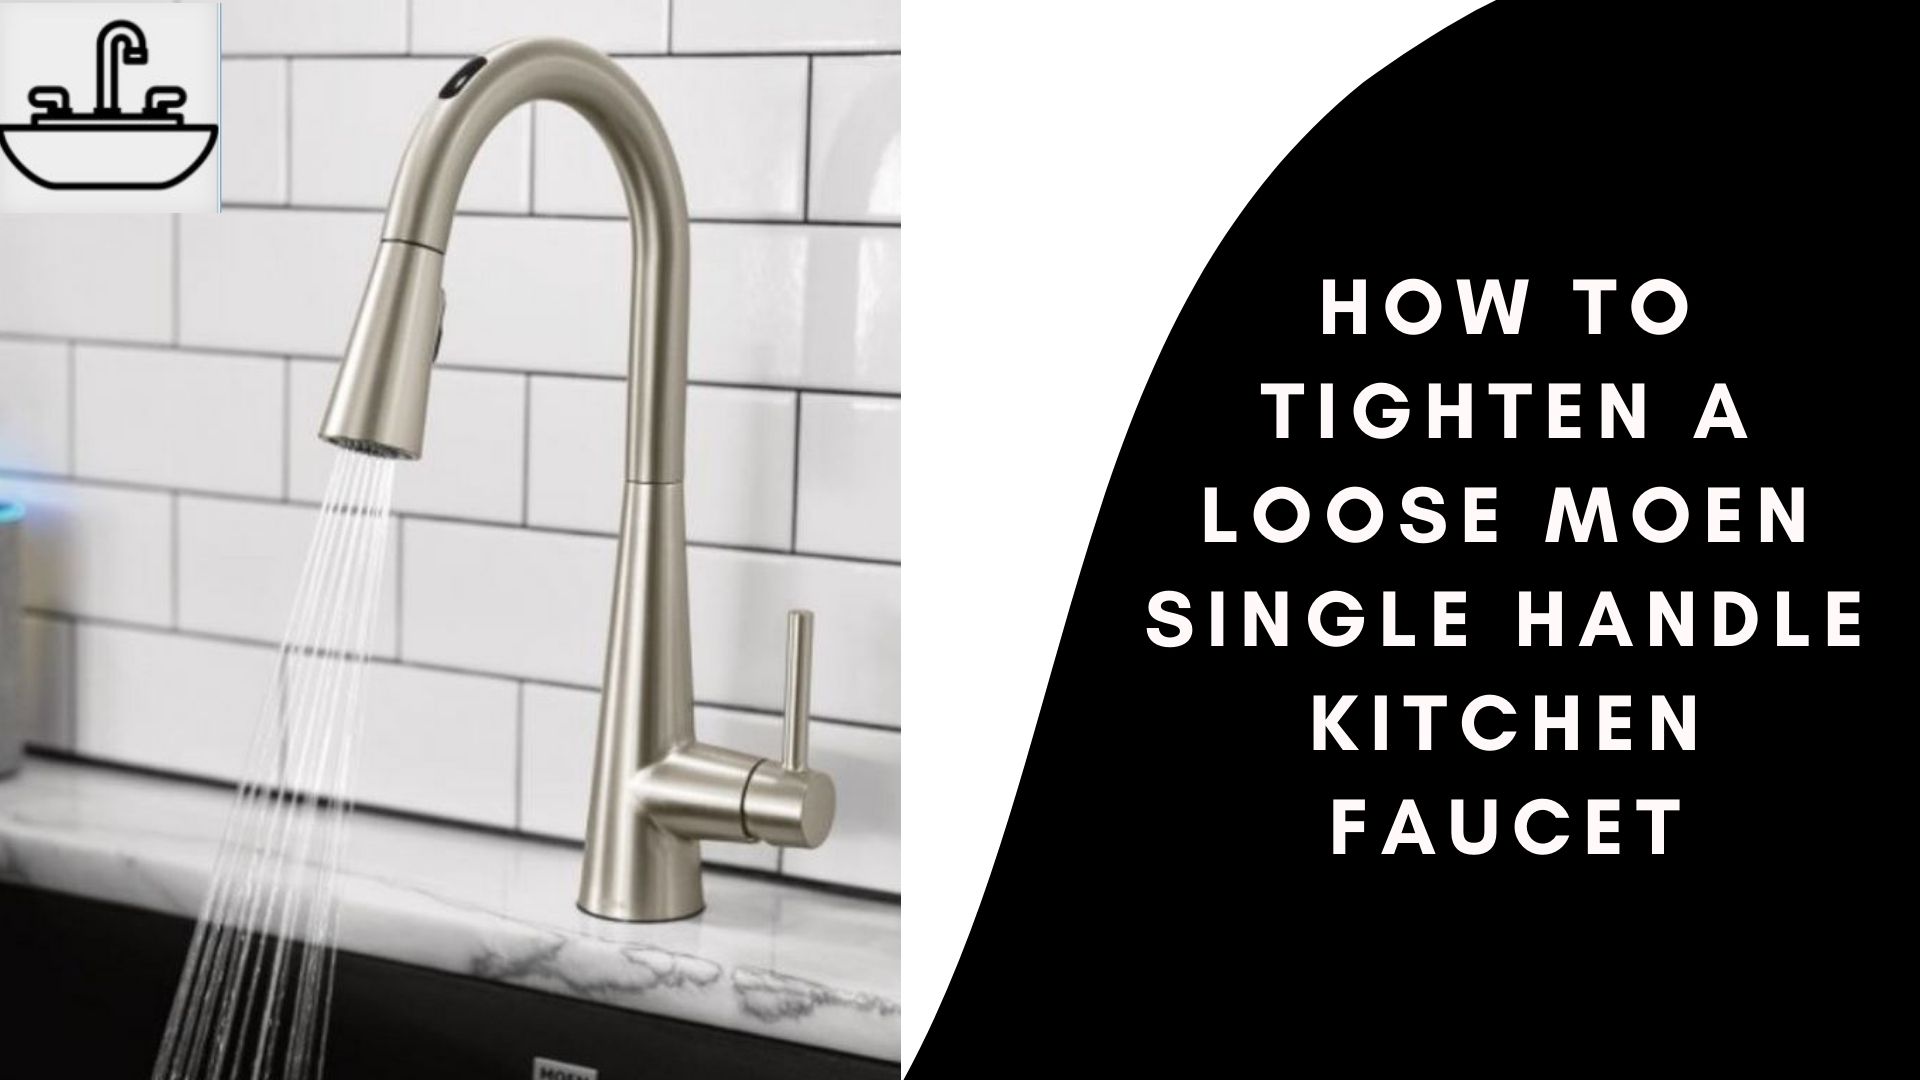
* **Single-Handle Faucets:** These faucets typically have a single mounting nut that secures the base to the countertop. Tightening this nut is usually the first step in fixing a loose base.
* **Two-Handle Faucets:** These faucets have two separate handles for hot and cold water, each with its own mounting hardware. You’ll need to tighten the hardware for both handles to secure the base.
* **Pull-Down Faucets:** These faucets have a pull-down sprayer that can add extra weight and stress to the mounting system. Make sure the mounting hardware is properly tightened to support the weight of the sprayer.
* **Wall-Mounted Faucets:** These faucets are mounted directly to the wall, rather than the countertop. Fixing a loose base on a wall-mounted faucet can be more challenging and might require professional assistance.
* **Vessel Faucets:** These faucets sit on top of the countertop, rather than being mounted through it. They typically have a unique mounting system that requires careful attention.
Understanding the type of faucet you have and its mounting system will help you *fix loose faucet base* more effectively.
Faucet Stabilizers: An Effective Solution for Wobbling Faucets
A faucet stabilizer is a device designed to provide additional support to the faucet base and prevent wobbling. It’s a simple and effective solution for faucets that are prone to loosening.
* **How They Work:** Faucet stabilizers typically consist of a bracket that attaches to the underside of the sink or countertop and provides support to the faucet base.
* **Benefits:** Faucet stabilizers can prevent the faucet base from becoming loose, reduce vibration and noise, and extend the life of the faucet.
* **Installation:** Faucet stabilizers are relatively easy to install and can be done by most homeowners.
* **Types:** There are various types of faucet stabilizers available, so choose one that is compatible with your faucet and sink.
Using a faucet stabilizer is a proactive way to *fix loose faucet base* and prevent future problems.
Q&A: Expert Answers to Your Faucet Questions
Here are some frequently asked questions about fixing a loose faucet base, along with expert answers:
**Q1: How often should I check the mounting hardware on my faucet?**
A: It’s a good idea to check the mounting hardware every 6 months to a year. Regular inspections can help you identify and address any issues before they become major problems.
**Q2: Can a loose faucet base cause water damage?**
A: Yes, a loose faucet base can allow water to seep under the faucet and damage the countertop or sink. It can also lead to mold growth and other problems.
**Q3: What type of sealant should I use to seal the base of my faucet?**
A: Plumber’s putty and silicone caulk are both effective sealants for faucet bases. Choose the one that you are most comfortable working with.
**Q4: How do I remove a faucet that is stuck due to corrosion?**
A: Apply penetrating oil to the mounting hardware and let it sit for a few minutes. Then, use a wrench or other tool to carefully loosen the hardware. If the corrosion is severe, you might need to use a specialized tool to remove the faucet.
**Q5: Can I use Teflon tape on the faucet base to prevent leaks?**
A: Teflon tape is typically used on threaded connections, not on the faucet base. Use plumber’s putty or silicone caulk to seal the base.
**Q6: My faucet is still loose after tightening the mounting hardware. What should I do?**
A: Check for worn or damaged washers or O-rings and replace them if necessary. You might also need to apply more plumber’s putty or silicone caulk to seal the base.
**Q7: How do I know if I need to replace my faucet?**
A: If your faucet is severely damaged, corroded, or leaking, it’s probably time to replace it. You should also consider replacing your faucet if it’s outdated or inefficient.
**Q8: What is the best way to clean a faucet base to prevent corrosion?**
A: Regularly clean the faucet base with a mild soap and water solution. Avoid using harsh chemicals or abrasive cleaners, as they can damage the finish.
**Q9: Can I use a faucet stabilizer on any type of faucet?**
A: Faucet stabilizers are compatible with most types of faucets, but it’s important to choose one that is the right size and shape for your faucet and sink.
**Q10: Is it safe to drink water from a faucet with a loose base?**
A: While a loose faucet base itself doesn’t necessarily contaminate the water, it can create a breeding ground for bacteria and mold. It’s best to fix the loose base as soon as possible to prevent any potential health risks.
Conclusion: Achieving a Stable and Leak-Free Faucet
Fixing a loose faucet base is a manageable task with the right tools, knowledge, and a step-by-step approach. By understanding the causes of faucet looseness, following our detailed instructions, and implementing preventative measures, you can ensure a stable and leak-free faucet for years to come. Remember that proactive maintenance and addressing issues promptly are key to preventing more significant plumbing problems down the line. If you encounter any challenges or are unsure about any aspect of the repair, don’t hesitate to consult with a qualified plumber. Now that you’re equipped with this comprehensive guide, you’re ready to tackle that wobbly faucet and enjoy a more stable and functional kitchen or bathroom. We encourage you to share your experiences and tips for *fix loose faucet base* in the comments below. Explore our other guides for advanced plumbing solutions and keep your home in top shape!
